
Done correctly, the incline biceps curl can add another layer of muscle peak-building awesomeness to your arms workout. If you do the exercise improperly, however, your shoulders may never forgive you.
This underrated curl will challenge your biceps in a whole new way by putting them in a unique stretch position, which will recruit more muscle fibers as you get a greater squeeze at the top of every rep, as Men’s Health fitness director Ebenezer Samuel, C.S.C.S., and fitness editor Brett Williams, NASM demonstrate in the latest Form Check video.
Since you’re working in a different position than other lifts, it’s imperative that you get the technique right, the sooner the better. “Understanding how to do these is key, because if you don’t, you’re gonna damage your shoulders,” Samuel says. “We’re going to show you how to get it just right and really get that good bicep squeeze from it right now.”
How to Do Dumbbell Incline Curls the Right Way
Get Your Bench Angle Right
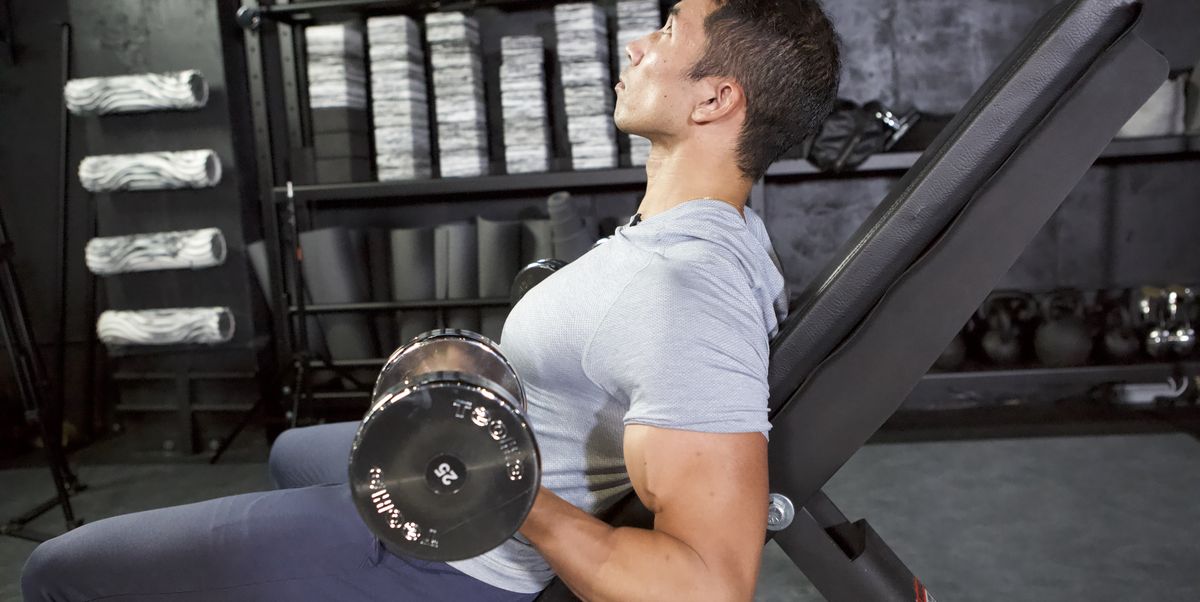
Setting up this curl variation starts by getting your elbows behind your torso. This will allow for more of a biceps stretch. What you don’t want, however, is wild, out-of-control elbow placement behind your torso, which will take your shoulder out of its natural position, leading to a possible injury.
Fixing this is as easy as setting the inline on your bench to around 60 degrees—anything lower can place undue stress on your shoulders while adding very little additional benefit to your biceps. You’ll quickly notice at this position how the weight hangs naturally with just enough stretch needed.
“If you do feel it in your shoulders, it’s more than likely you still have the bench too far back and your shoulders are under too much stress,” Samuel says.
Keep Your Head Up
Once you’re in the proper position, you still need to think of a few details before you begin to curl, and one of those is head positioning. You can lay your head back against the bench, but Samuel suggests keeping your head up, which may be a bit more comfortable, especially for your thoracic spine.
From there, keep the shoulder blades nice and tight, squeezing through them to create a little bit more space for your rotator cuff tendons to work. This will help keep your elbows from driving too far forward.
Elbows Behind Torso, Then Curl
The final form check key is making sure you maintain a perpendicular line from shoulder to elbow for the entire curl. Remember to keep your elbows behind your torso. Once you’re set, the incline curl is simple: Keep it nice and controlled—no need to “explode” during the movement. “That way you can feel your biceps working,” Samuel says. “When you get to the top, try to squeeze the heck out of your biceps on every single rep, because that’s what we’re working and you’re gonna get more out of it.”
Three sets of 10 to 12 reps works best for these. One final point to remember: As you’re curling up and fatigue sets in, fight off the urge to bring your elbows forward. This will more than likely happen toward the end of the set. Staying back on that curl for as long as possible is what’s going to allow you to get the most out of it for your biceps.
Want to master even more moves? Check out our entire Form Check series.
This content is created and maintained by a third party, and imported onto this page to help users provide their email addresses. You may be able to find more information about this and similar content at piano.io
Comments are closed.